


Instructions for using Singularity
How to install Singularity
You can install Singularity in two different ways:
- Installing Singularity in three steps:
1. install dependencies
2. install Go programming language
3. download SingularityCE - Installing a pre-built image from pre-existing containers
1: Installing Singularity in 3 steps
1. Install dependencies:
a. Debian based systems like Ubuntu:

Command as text for copying:
sudo apt-get update
sudo apt-get install -y \
autoconf \
automake \
cryptsetup \
fuse2fs \
git \
fuse \
libfuse-dev \
libseccomp-dev \
libtool \
pkg-config \
runc \
squashfs-tools \
squashfs-tools-ng \
uidmap \
wget \
Zlib1g-dev
b. For Ubuntu version 24.04 or higher, install libsubid headers with the following command:
`sh sudo apt-get install -y libsubid-dev `
2. Install Go:
a. You can download Go directly from the website: https://go.dev/dl/
b. Alternatively, you can download Go with the following commands. Change the given parameters if necessary:
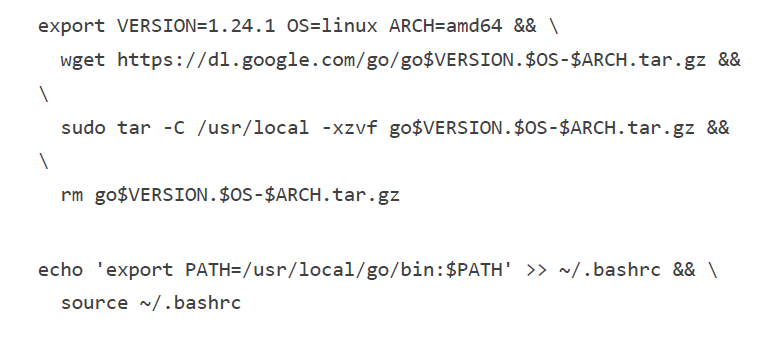
Command as text for copying:
export VERSION=1.24.1 OS=linux ARCH=amd64 && \
wget https://dl.google.com/go/go$VERSION.$OS-$ARCH.tar.gz &&
\
sudo tar -C /usr/local -xzvf go$VERSION.$OS-$ARCH.tar.gz &&
\
rm go$VERSION.$OS-$ARCH.tar.gz
echo 'export PATH=/usr/local/go/bin:$PATH' >> ~/.bashrc && \
source ~/.bashrc
3. Download SingularityCE
a. Choose the preferred release of SingularityCE:
https://github.com/sylabs/singularity/releases
b. After this, run the following command. Add the preferred version number into the command:
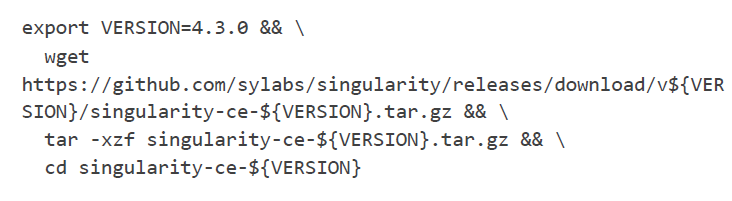
Command as text for copying:
export VERSION=4.3.0 && \
wget
https://github.com/sylabs/singularity/releases/download/v${VER SION}/singularity-ce-${VERSION}.tar.gz && \
tar -xzf singularity-ce-${VERSION}.tar.gz && \
cd singularity-ce-${VERSION}
i. Translate SingularityCE source code with the following command:
./mconfig && \ make -C builddir && \ sudo make -C builddir install
You can confirm successful installation with the following command, which prints the Singularity version in use:
singularity --version
2: Installing Singularity from a pre-built image
It is also possible to install Singularity from pre-existing containers.
You can find the Container Library here: https://docs.sylabs.io/guides/latest/user-guide/quick_start.html.
You can also download containers from Docker hub: https://hub.docker.com/.
Pre-existing containers and images can be downloaded using pull and build commands.
- pull command can be used as follows, for instance (downloading container from library):
singularity pull library://<NAME>
Downloading a pre-existing Docker image can decrease the reproducibility as images may not be the same when downloaded again later on.
- build command can be used as follows:
singularity build ubuntu.sif library://ubuntu
When using the build command, the name of the container must be specified (ubuntu.sif above).
In addition, build command can also be used for creating a new image from on an old one or a def-file. More on def-files below.
Note! You can add libraries and such to the def-file of a pre-existing image if necessary. You can find the instructions and example below.
How to create a container and image
Definition file
Definition file (def-file for short) is used for image creation based on the container. Def-files are especially useful when the container's configurations need to be customised based on different needs.
Test example of a def-file structure (picture below):

A definition file consists of two main sections:
In the header section, the operating system is defined and the necessary functionalities are configured. The keywords in the header are Bootstrap, From, and Stage.
- Bootstrap is always mandatory and must be present in every definition file. It specifies the bootstrap agent used to create the underlying operating system. In the example above, the image is created using a library. An image can also be created using Docker, for instance.
- From keyword defines and specifies the version of the bootstrap agent being used. In the example above, the library agent is used, and more specifically a Debian container.
- Other keywords
- Stage keyword indicates at which stage the definition file is used. In this example, the file is used to build/run the image.
The other sections consist of parts that define the container’s behaviour. Sections are introduced with the % symbol followed by the section name. All sections are optional, and the same section may appear more than once in a single file.
List of sections:
- %setup section is used to run commands during the build on the host system, outside the container.
- %files section is used to copy files from the host (meaning outside the container) to their destination inside the container.
- %environment section is used to define environment parameters for runtime.
- %post section is used for downloading files from the Internet, running commands (e.g. installing packages and updates), writing configuration files, creating new directories and so on.
- %runscript section's contents are written to the dedicated file inside the container, which is executed when the container image is run.
- %startscript section's contents are written to its dedicated file during the build.
- %test section is used to “validate” the container with user-defined tests. In this section, you can test the container’s functionality using any methods you like.
- %labels section is used to add metadata. The data is added as name–value pairs.
- %help section's contents are written to the dedicated metadata file in the container during the build (e.g. a description of the container or its usage instructions).
How to create an image
In general, containers are built as SIF (Singularity Image Format) containers, which are compressed and immutable. SIF containers are a good choice especially for researchers using High Performance Computing (HPC), due to their reproducibility.
The image can also be built based on the above definition file.
--
Sandbox
Creating a container with the --sandbox flag creates the image as an mutable directory tree that corresponds to the container’s internal filesystem.
The flag is used with the build command, for example as follows:
In this example, a subdirectory ubuntu/ is created, containing the Ubuntu operating system:
singularity build --sandbox ubuntu/ library://ubuntu
You can use the shell command with a container created as a sandbox, which allows you to modify and further develop the container later on.
Using sandbox can be easier than using a definition file if the user needs to iterate certain parts themselves, such as finding suitable versions of libraries. Therefore, sandbox images are well suited for development when the final form of the image is not yet clear and you want to configure it.
However, using sandbox affects the reproducibility of the image. Therefore, for researchers using HPC, using a definition file may be a better option in terms of reproducibility.
Fakeroot
The fakeroot feature makes it possible to create and run containers without root privileges if the user does not have them. In principle, when using Singularity, root privileges should not be necessary.
However, fakeroot limits the user’s rights to open or modify files and directories for which the user does not have permissions.
The feature is used as follows, for example when building a container:
singularity build -- fakeroot test.sif test.def
Fakeroot can be used with the following commands:
● build
● shell
● exec
● run
● instance start
● instance build
Creating an image for a script
1. Create a script file if one does not already exist.
2. Create a definition file (def file) for the image.

Example 1 of creating a def file.
Sections files and runscript are used in the file when an image is created using a script file.

Example 1 of creating a def file.
For this example, a post section has been added, which can be used to install the necessary packages, programs, programming languages, and other required components. You can download the latest versions of packages and programs by specifying the version number when downloading them.
How to use images
When an image has been created or a ready-made image has been downloaded, you can interact with it using various commands.
Shell
The shell command opens a new command line in the terminal, through which the container can be used and managed like a virtual machine. The command is used as follows:
singularity shell <file_name>.sif

The command opens a following space (picture on the right).
You exit this mode using the exit command.
Exec
The exec command can be used to run a function or command from inside the container and print any output from that function to the terminal. If the function takes a parameter as input, it is given immediately after calling the function.
The command is used as follows:
singularity exec <file_name>.sif <function_name> (parameter)
Run
The run command is used to execute user-created scripts (runscripts).
The command is used as follows:
singularity run <file_name>.sif
After this, the script can be “called” simply by using the name of the image file:
./<file_name>.sif
The command can also take arguments, similarly to the exec command.

Example using the alpine library (picture on the right).
Possible problems and their solutions
to be updated