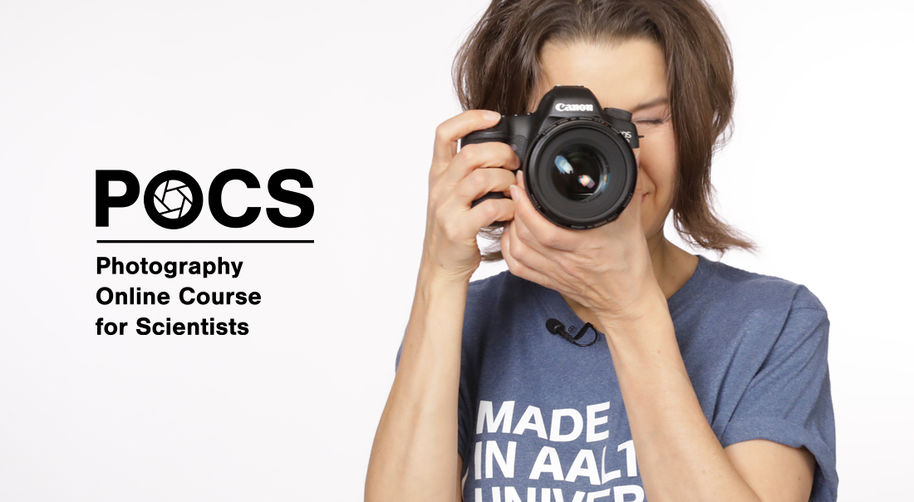
Your research, your photos: The Photography Online Course for Scientists

Do you want to learn how to take better quality photos for scientific use?
Have you thought about presenting your research with your own photos?
Have you thought about having your own photo library to communicate your work?
Every photo has a story to tell
The POCS core idea is photography with ease. It introduces you to a functional photography-based workflow: from a story via a visualization plan to a final photo.
The first module is about how you set up a DSLR camera before you begin to take photos.
In this module we will go through the camera functions that are important to know to get better quality photos technically and to be able to control your equipment.
The second module is about the basics of photography.
In this module, we will talk about shutter speed, aperture, f-number, depth of field, ISO, white balance and most importantly, how to determine the exposure. In the end, we will introduce what is good to know about lenses. Every tutorial video includes recommendations on how to set up your camera when you take photos of scientific samples.
The third and the fourth modules are about practical photo demonstrations which are all done in a classroom. The last two modules are focused on lighting: we will work with a window light and then teach how to use artificial light sources.
In the last two modules we will demonstrate:
- Storytelling: we introduce the documentary-, narrative- and commercial-style scientific photography.
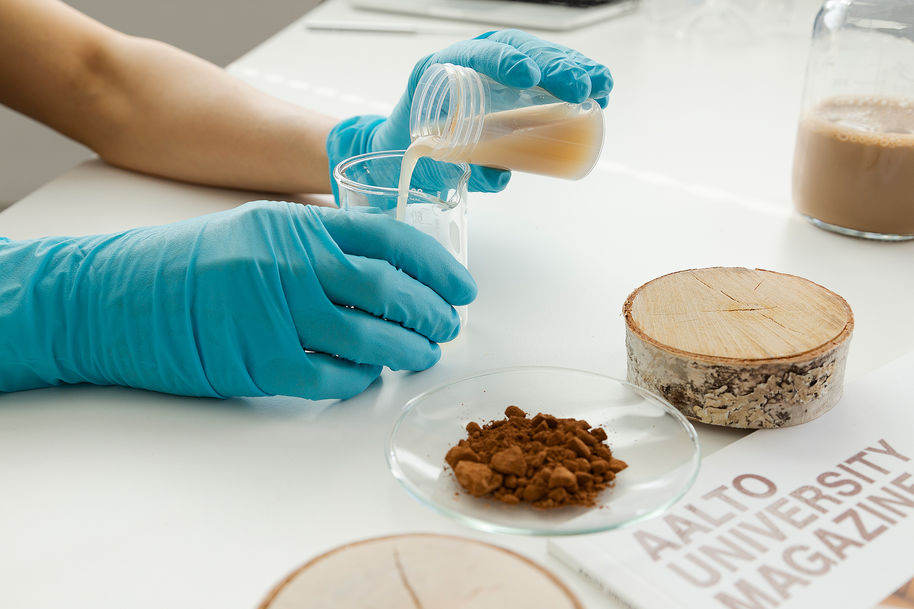
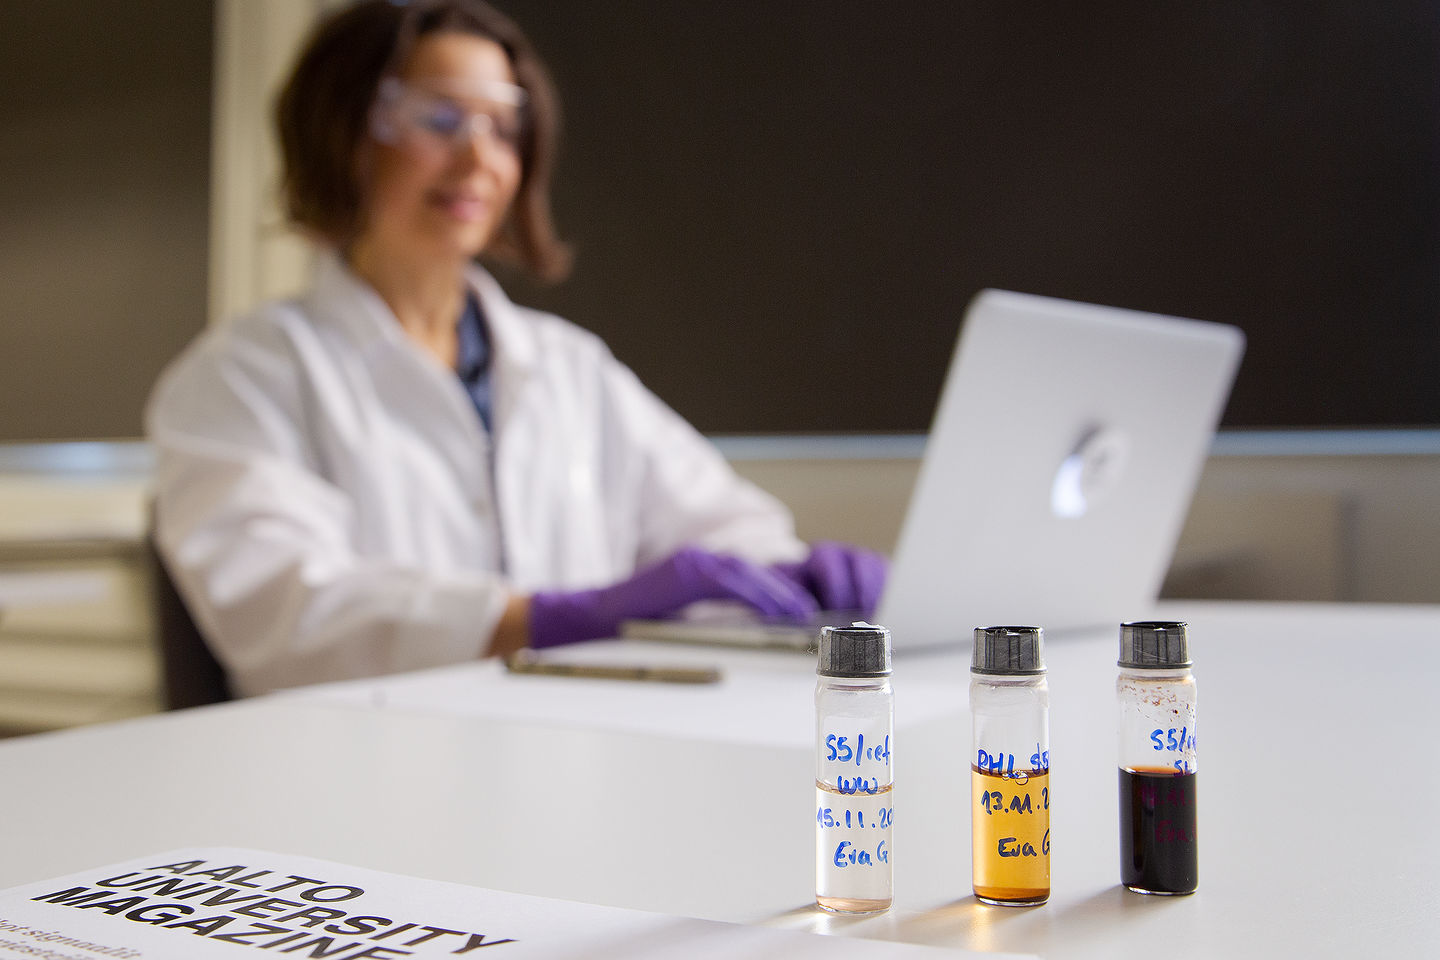
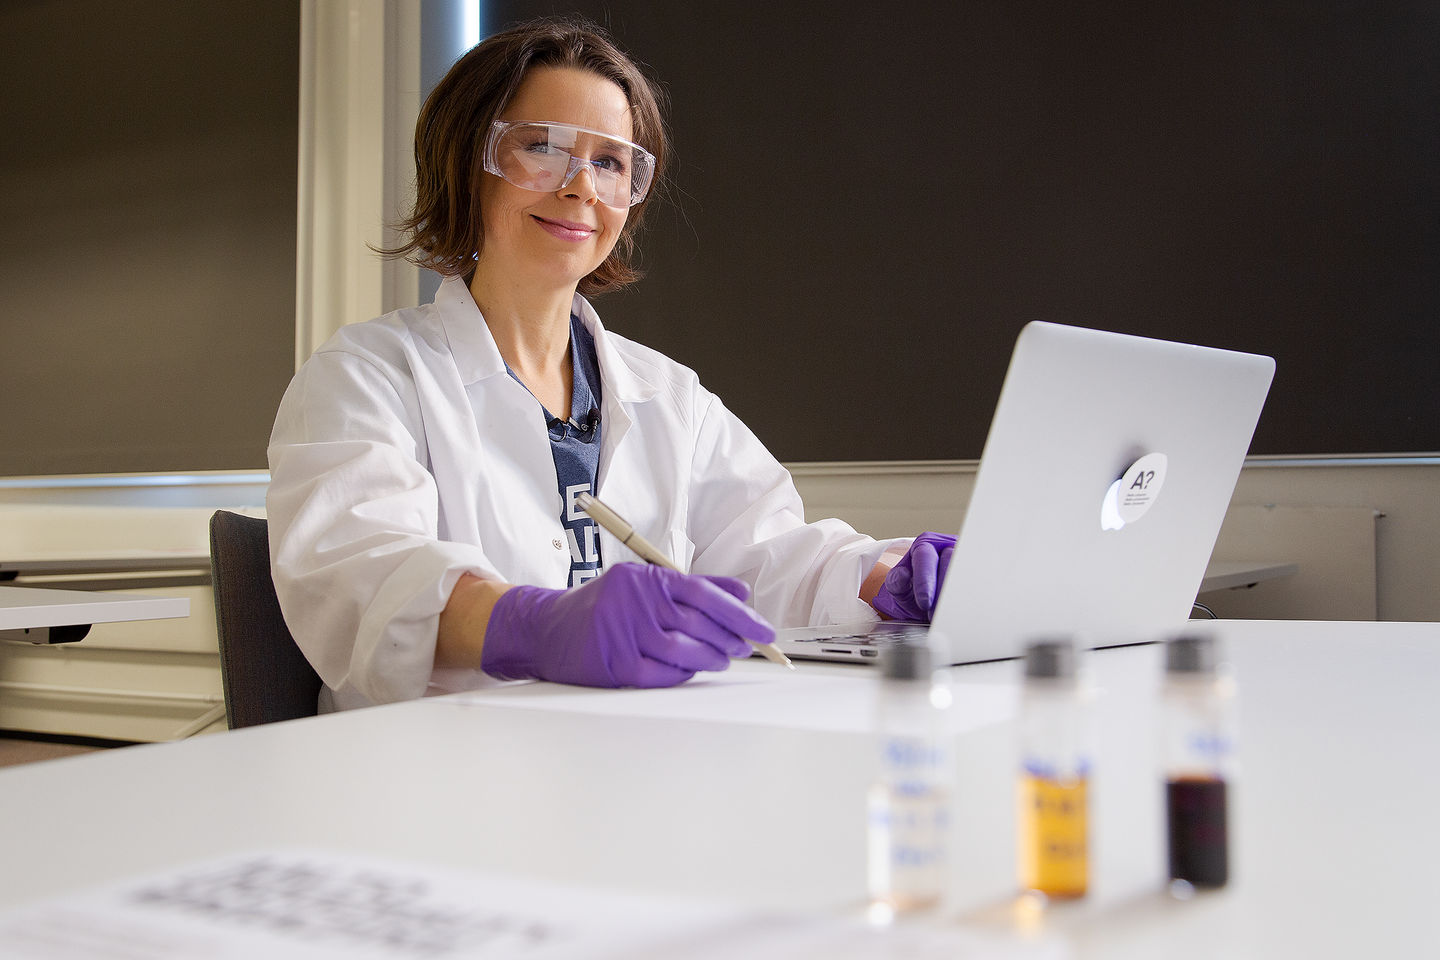
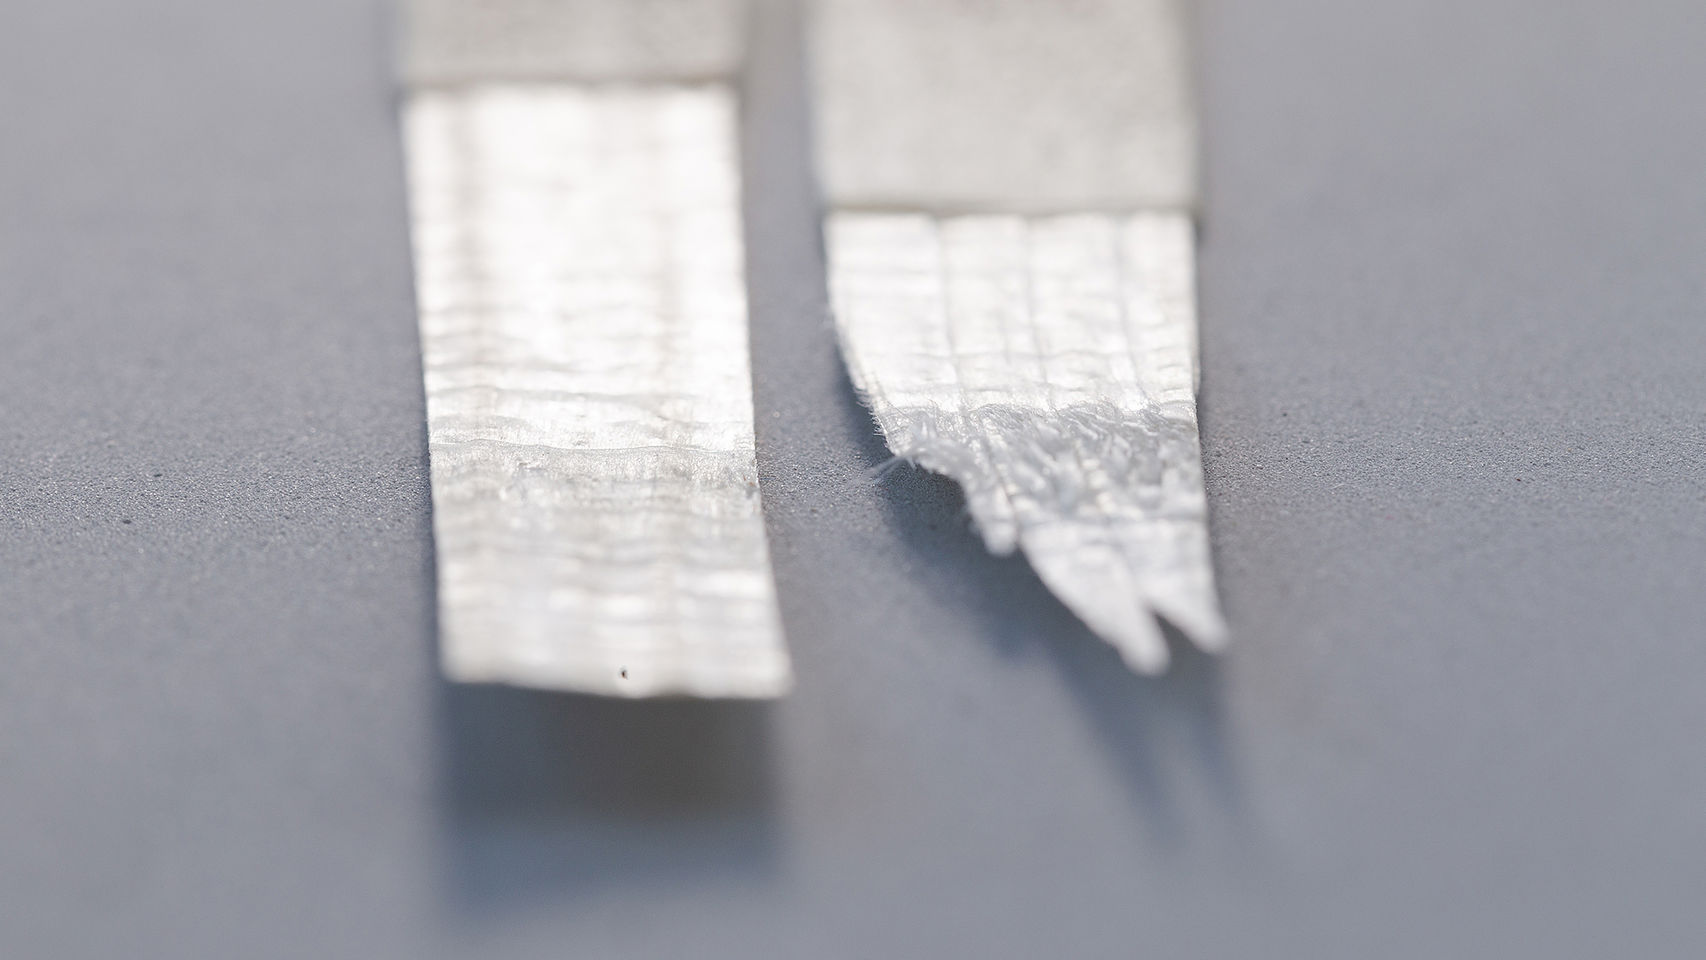
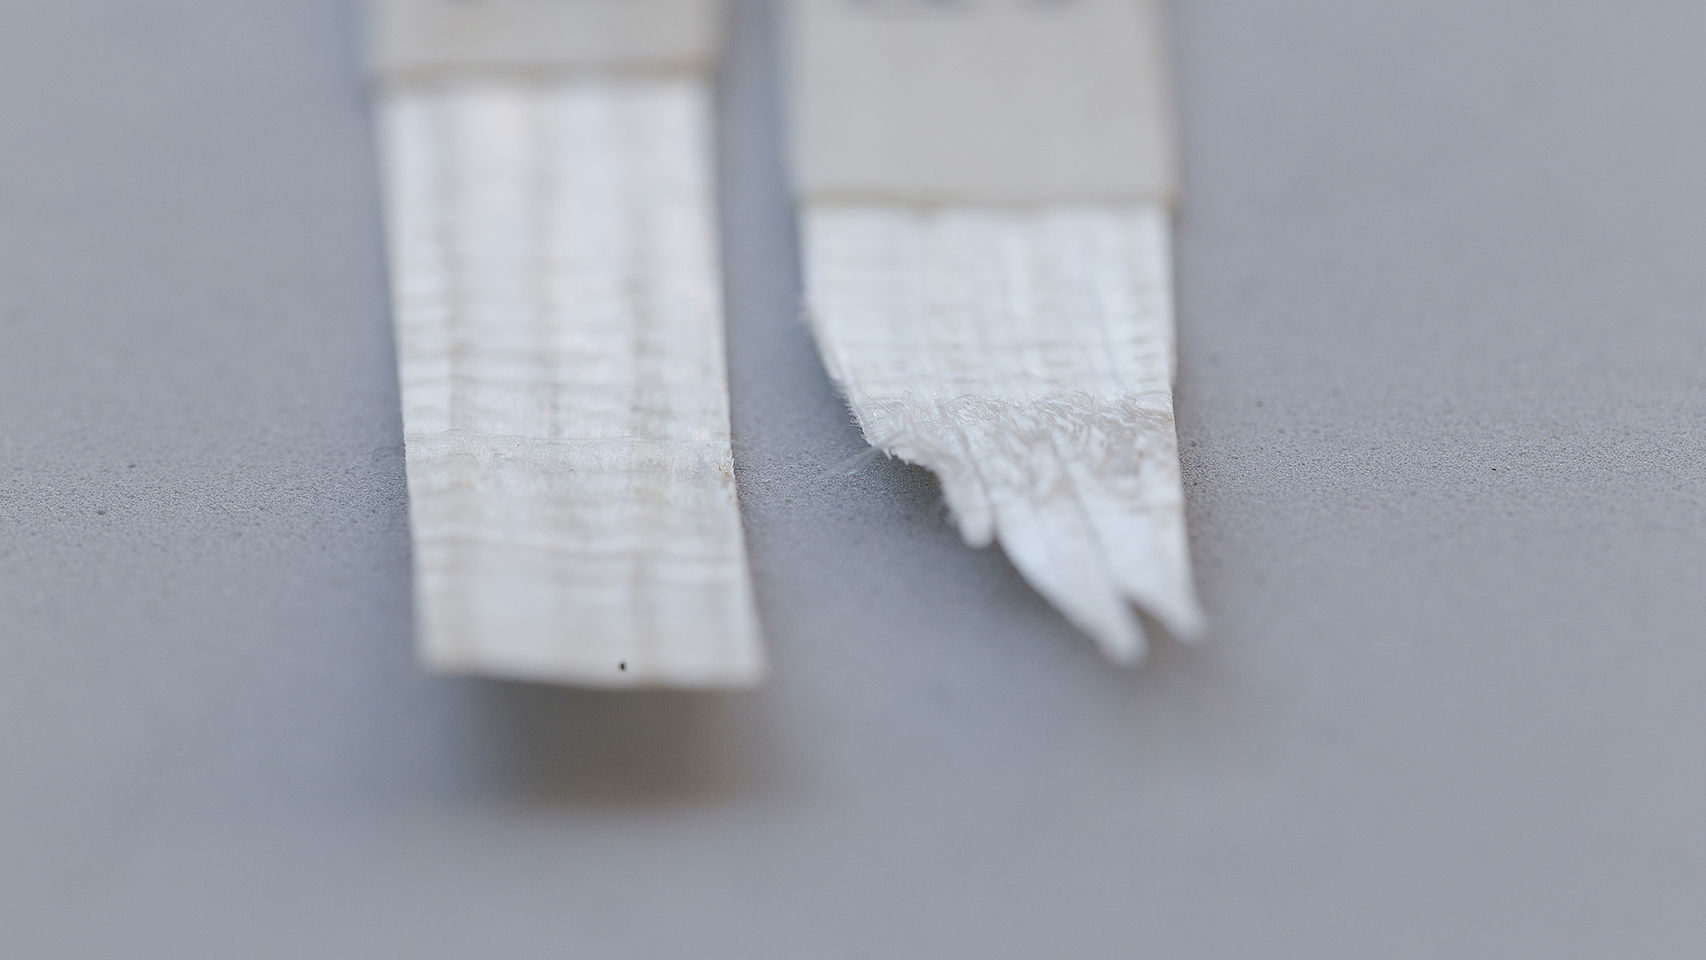
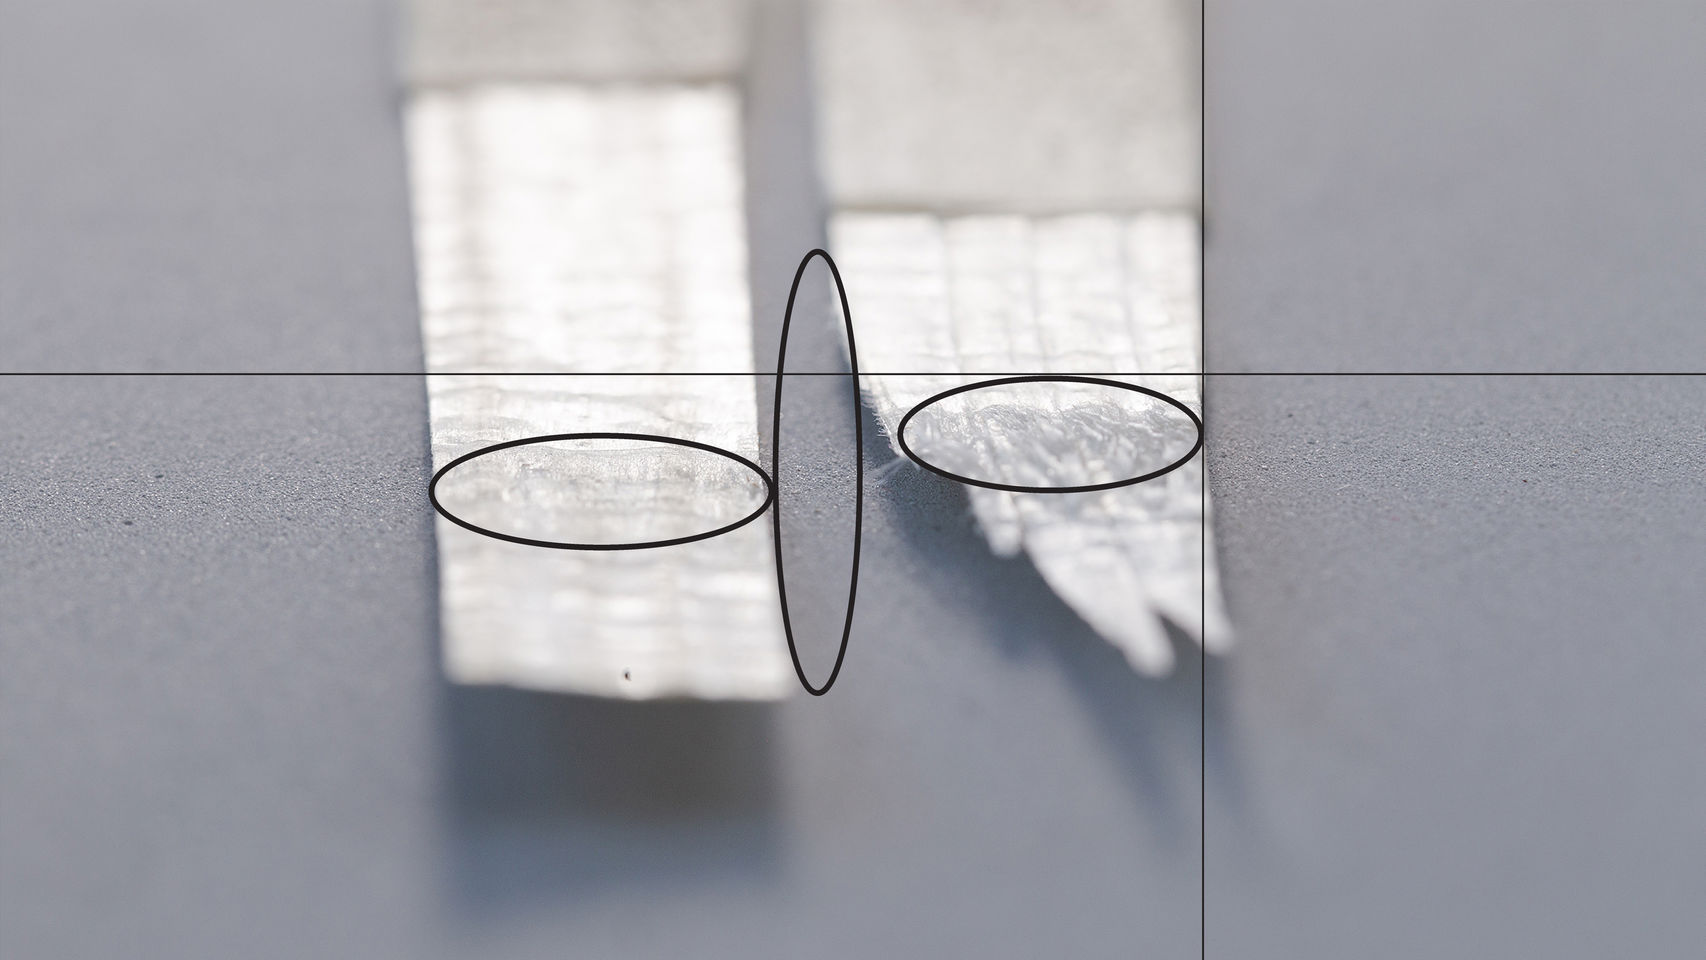
- The key components of technical quality: we are taking photos of matt, glossy, translucent or transparent samples to show how to emphasize the material's structure, surface texture and other qualities.
- Composition and visualization: we explain how to compose and visualize scientific photos differently in order to emphasize various aspects of your research.

POCS production team
Photography trainer Tiina Puputti has over 16 years of experience in photography training, teaching professionals, semi-professionals and amateurs. She has a master's degree in education, further qualification in photography, and specialist further qualification in photography. In 2015 she was awarded the title of The Master Photographer of the Finnish Professional Photographers’ Association. She’s the author of photography guidebooks Light & Lighting – Portraits in studio and in location, POSE – Guidance of the Model and Storytelling & Lighting – Portraits in studio and in location.
Producer Valeria Azovskaya's background is in service design, visual and scientific communications. At the moment Valeria continues to develop her expertise in a field of Online Education as a part of Aalto Online Learning community.
She has been working as an Aalto Materials Platform assistant and together with the Platform's team developed a series of services to support the Aalto scientific community. She earned her master's degree in design (Collaborative and Industrial Design major and Design Business Management minor) at Aalto University in 2017.
POCS background
In 2016 professor Robin Ras and his team members Mika Latikka and Johannes Haataja together with Tiina Puputti created a content for the first photography course for Aalto School of Science. Since then, Photography for Scientists workshop series has been held six times in cooperation with the School of Science, Aalto Materials Platform, the School of Chemical Engineering and Aalto Communications. In 2020 Aalto Online Learning funded the POCS production.
Thanks to all the support from Aalto community and dedication of development team the course is available for independent studying starting from November 2021 via Aalto MyCourses platform.
Go to POCS MyCourses page
For more information please get in touch:
- Published:
- Updated: